What makes a training course memorable and effective? Well, it all starts from the content. That’s why, when it comes to course creation and development, you need to know how to use at best all the tools you have at your disposal: and here is where the word “authoring” comes in.
Usually, a course authoring tool is a software program that allows users to create learning content in different formats – from interactive tests to videos – without having to know how to write code. You probably use some authoring tools every day without even realizing it – like writing documents, creating presentations, and making videos.
As for authoring an online learning course using a Learning Management System (LMS) or a Learning Platform, you mainly have two options:
1. Create content directly on the LMS
2. Embed external content, created by you or by others.
Spoiler alert: The WeSchool platform allows you to use both options, with ease and consistency.
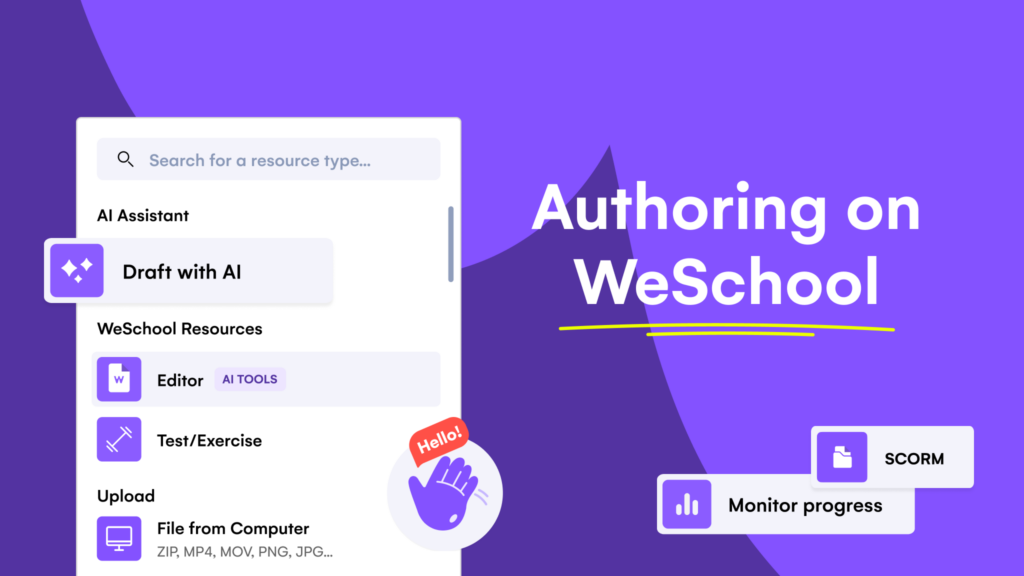
Curious to know how to create engaging and effective learning content in minutes? In this guide, you will see how different digital tools and content formats can be used to create an interactive and inclusive learning path. Let’s now explore all the possibilities for authoring your course on the WeSchool platform and how to choose the options best suited to your unique training needs.
To start, all you need is to register, set up your WeSchool Space, create a Group on WeSchool and add your first Module. From here, you have several options to create content without ever leaving the WeSchool platform: from creating with an embedded content editor to uploading external materials built on the most common content creation tools, from Google Suite and Canva, to Miro and Genial.ly.
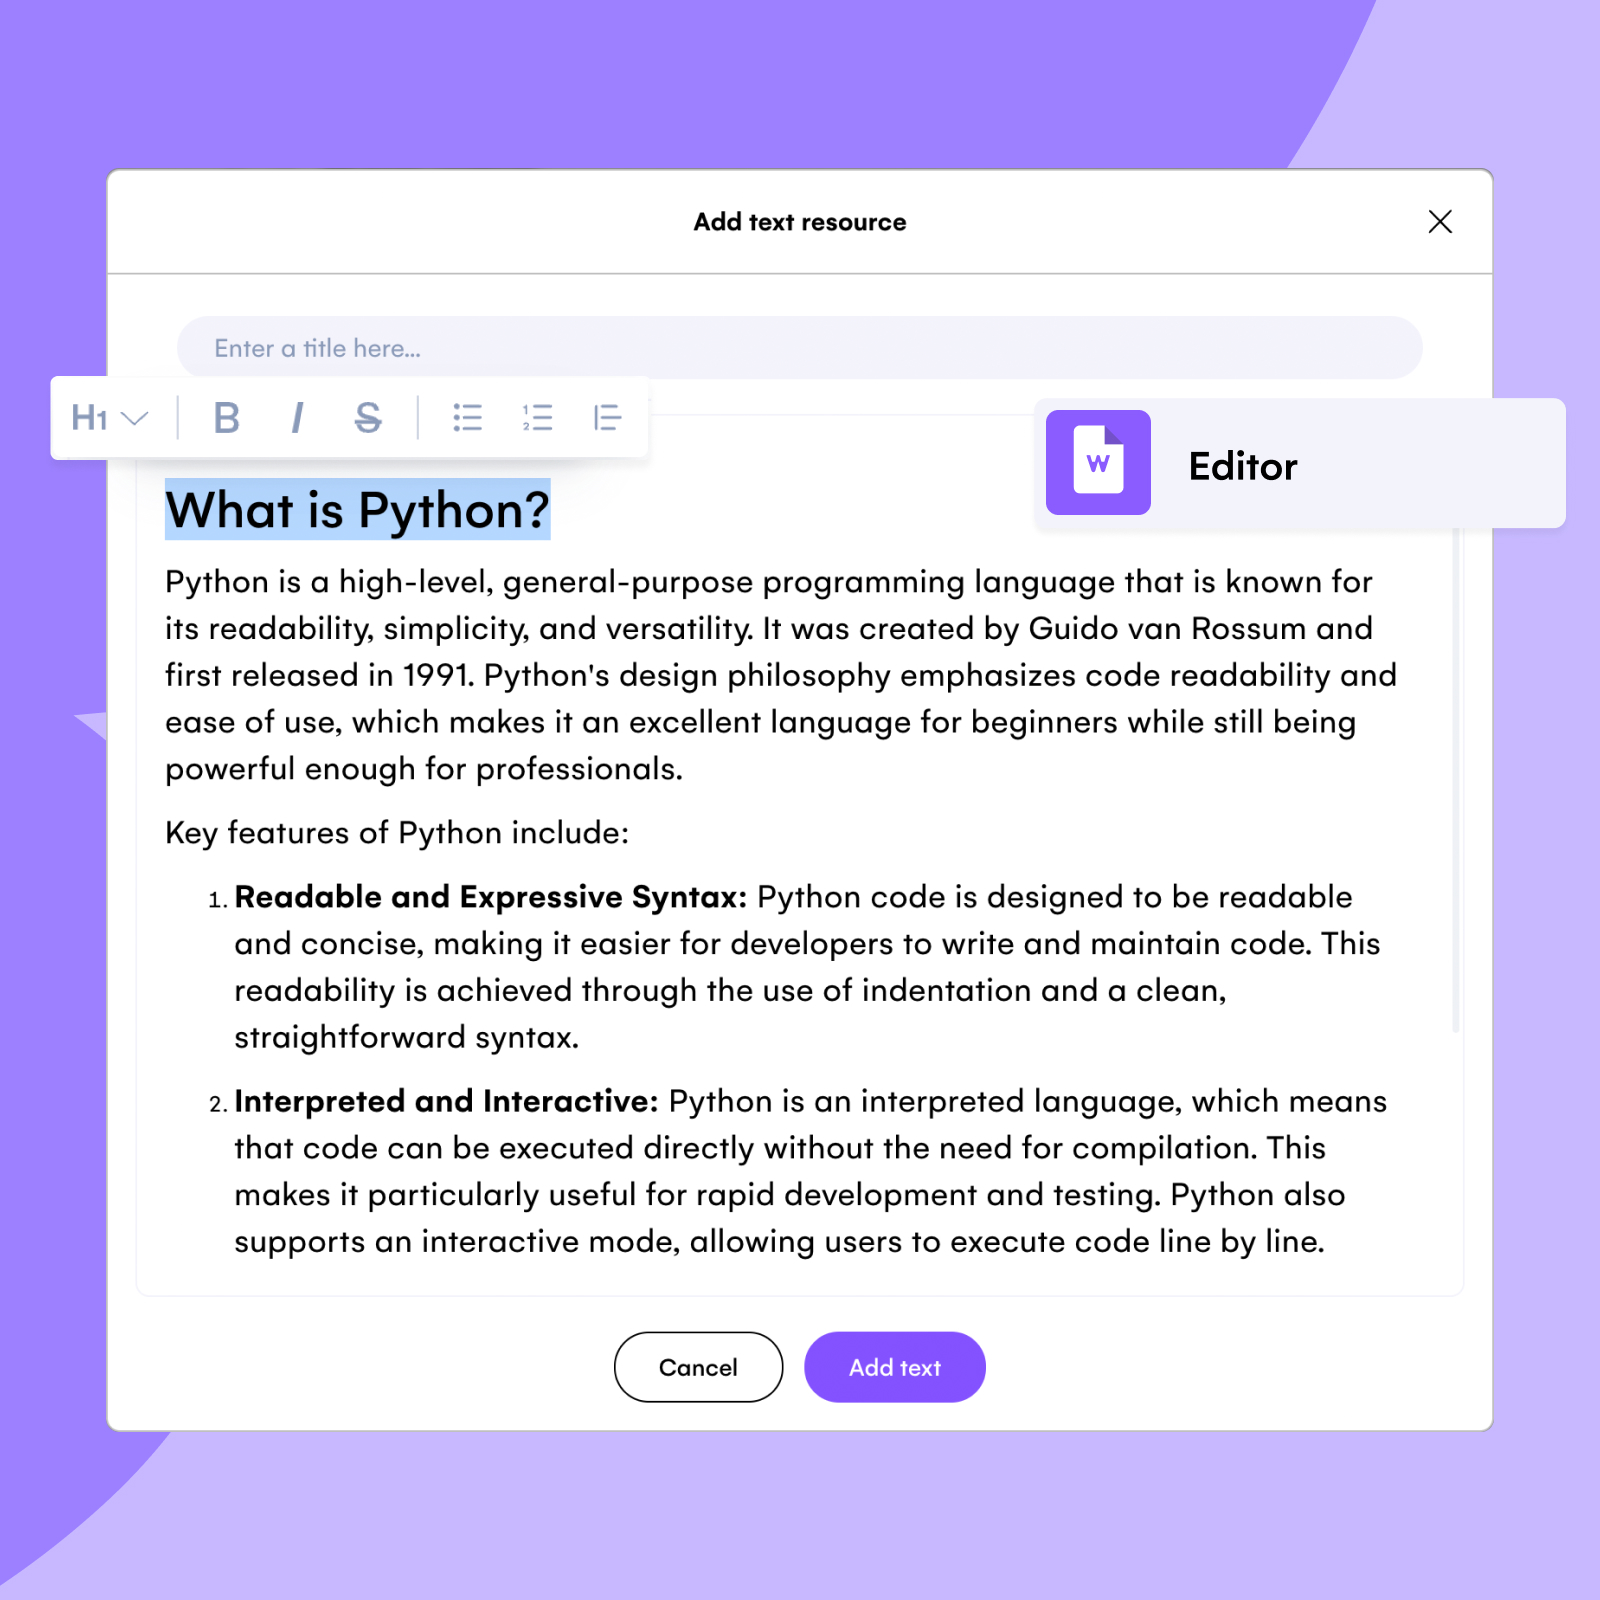
The WeSchool Text Editor is like an electronic notepad, allowing you to create and publish written content in a flash. With the WeSchool text editor, all you need to do is type your text and give it a title. As soon as you hit “Add text,” your content will be added to the learning path.
The text editor comes with all the text editing capabilities you need, like bolding, italicizing, and making a bulleted list to create an organized, cleanly formatted, and easy-to-follow text.
Feeling like a pro? There are shortcuts you can use to do that quicker, for example:
- a hashtag followed by text transforms that text into a title font;
- two hashtags gives you Title 2, and three hashtags – Title 3 formatting;
- one asterisk followed by text creates a bulleted list;
- one asterisk on either side of your text makes it italicized;
- putting two asterisks on either side of your text makes your text bold.
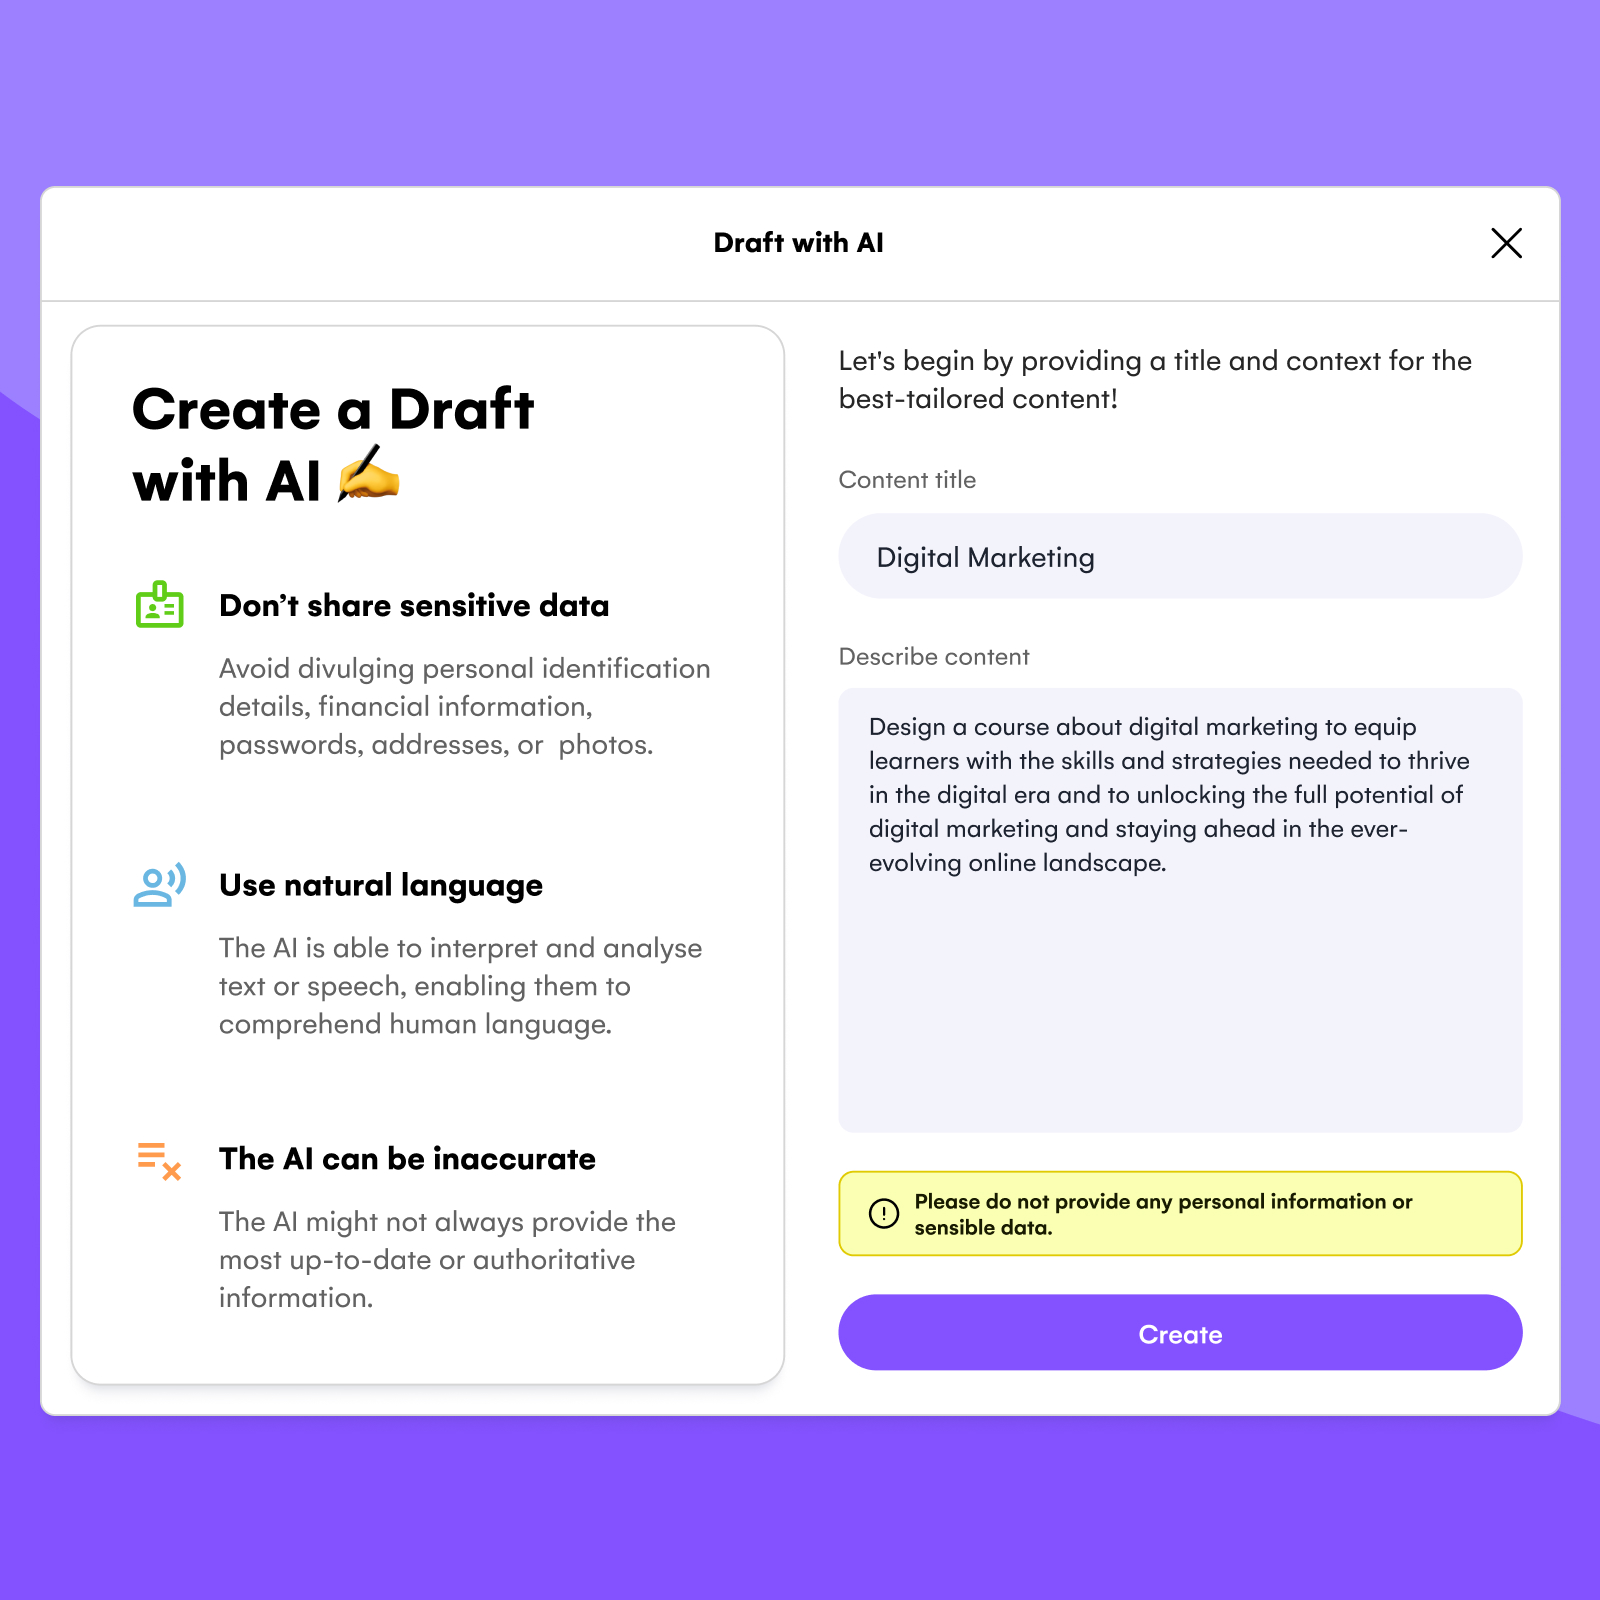
If you’re short on time or experiencing writer’s block, don’t worry: you no longer have to do all the writing yourself. Using the Draft with AI feature allows you to plan content, create activities, and make courses interactive, with the help of generative AI right in the WeSchool platform.
All you have to do is give your content a title and a prompt, or description of what you want to create, and have the AI assistant do the writing for you. Of course it will be important to review and revise the content as necessary and add your unique human touch.
Don’t know where to start with prompting? Our Education Team has created some ready-to-use prompts you can try to get started: 7 prompts to create effective training materials with generative AI.
The Board is a collaborative multimedia tool. It is like a text editor, but can be used during Live sessions in real time with others to brainstorm, create project plans, share ideas, and more. There are three main options when it comes to using the Board:
- Whiteboard: Freeform editor where you can type, write by hand, draw, insert images and resources;
- Document: A collaborative text editor;
- Code: A code editor that allows you to then save your output in the form of a file.
For a more detailed description, see also our dedicated tutorial How to use the WeSchool Board.
Course authoring does not end with learning content creation. To make learning efficient, you need to create a path. That’s why on WeSchool you can also set up tests and exercises of any kind.
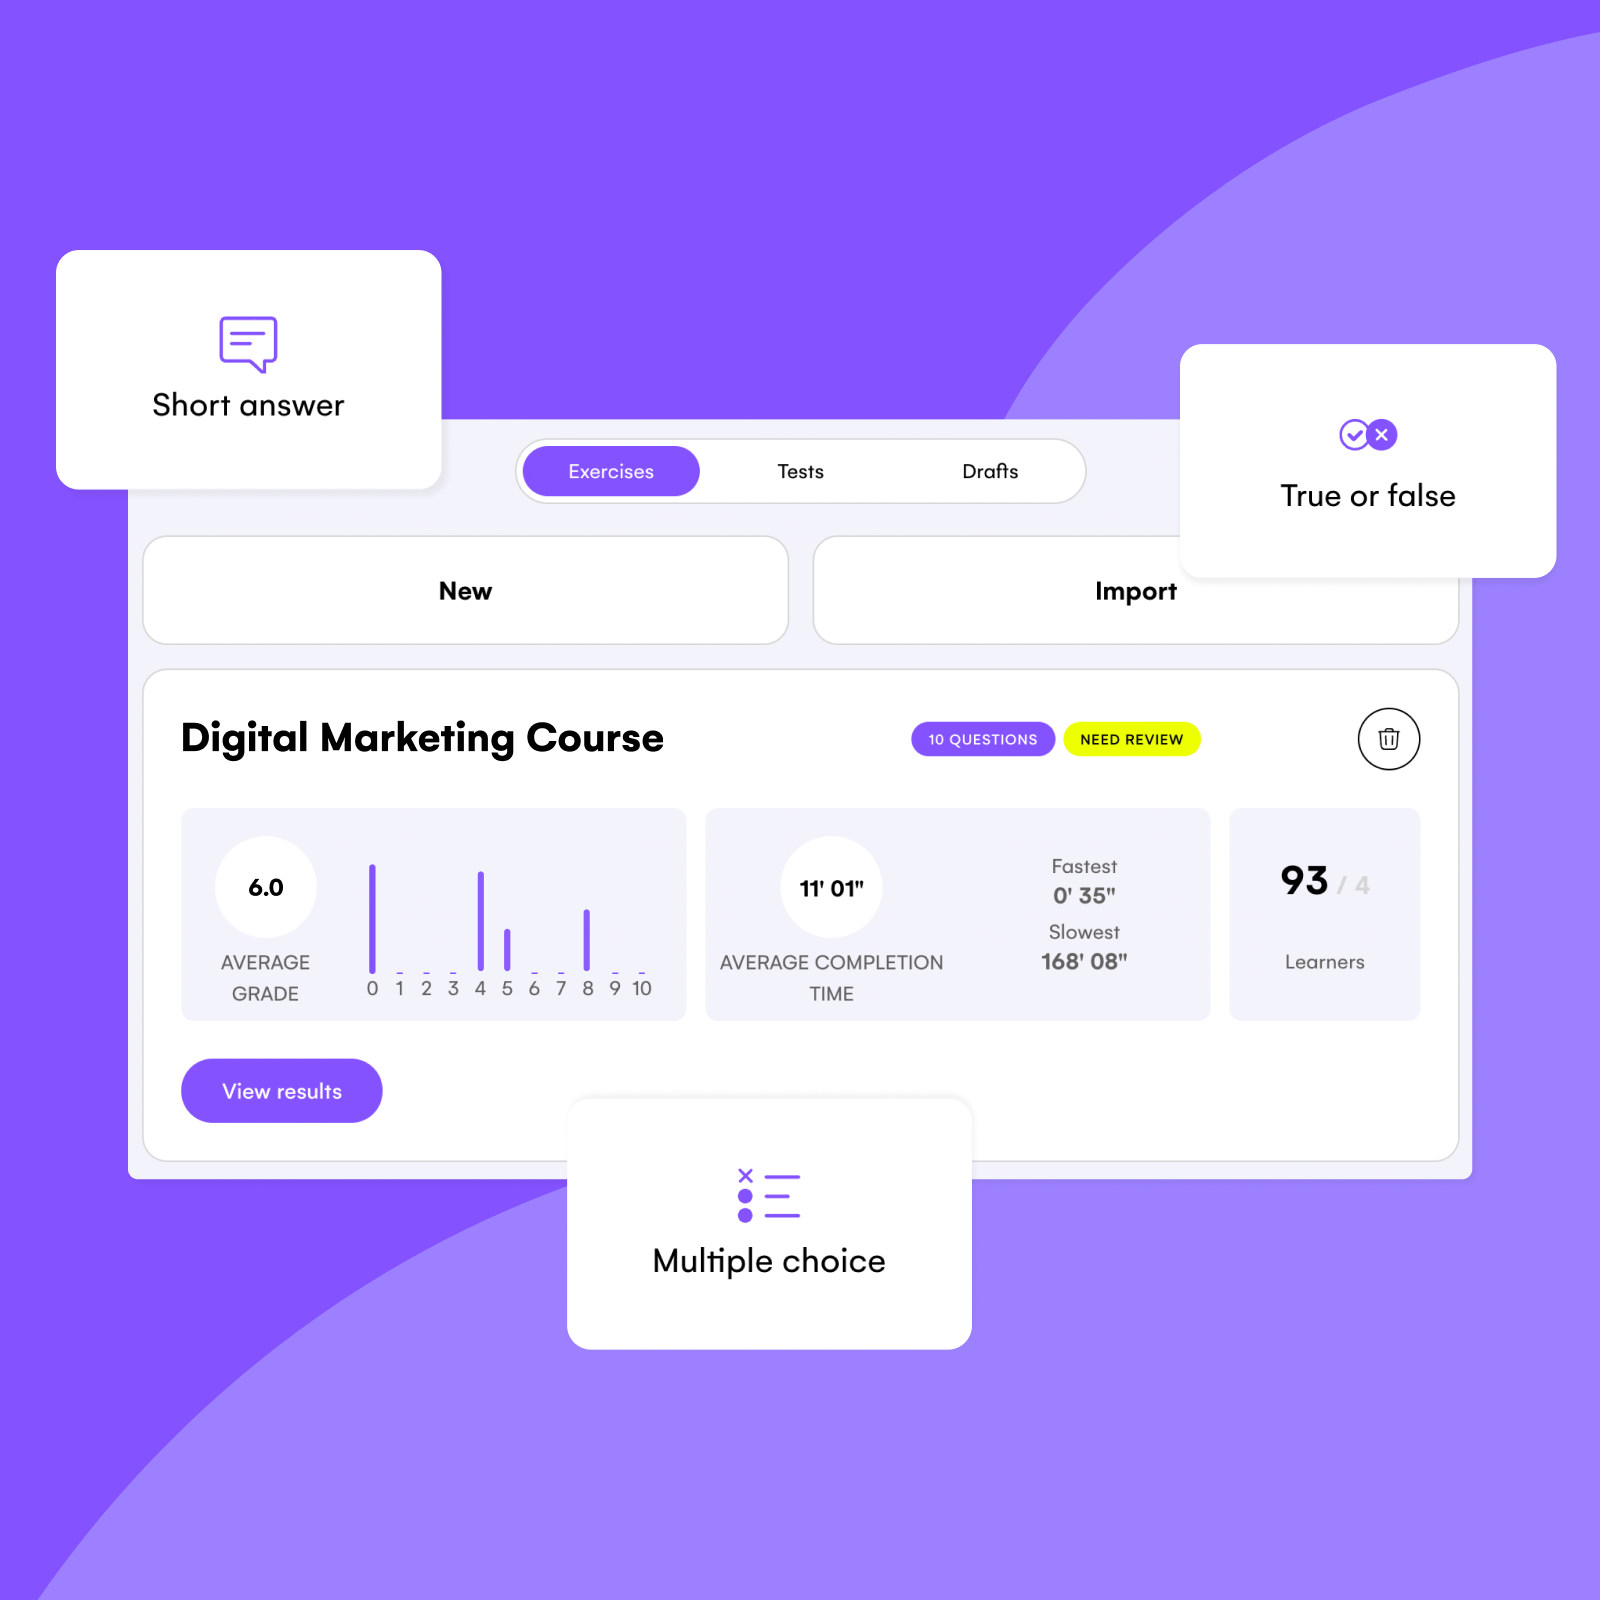
Using this authoring option, you can create interactive activities that allow people to practice what they are learning with Exercises, and evaluate learner progress using Tests. There are 10 options for you to choose from, from multiple choice and written answers to interactive ones like video quizzes and matching activities. These get smoothly integrated into the learning path and allow you to easily track completion rates and performance scores, right inside the WeSchool platform.
There are several options for which the platform grades and tracks user progress automatically. These are great to use for quick knowledge checks and ongoing practice:
- True or false: A question to which the answer is either true or false
- Short answer: A specific response needs to be given to a question
- Multiple choice: One or more correct answers have to be selected
- Crossword: Words and definitions are assembled into a crossword puzzle
- Video quiz: Questions (true or false, short answer, open answer, or multiple choice) appear at different parts of a selected video
- Fill in the blank: Missing words have to be input into specific parts of a text
- Matching: Items to be clicked to match those in column 1 with those in column 2 (using any of the available integrations (text, image, video, links, etc)
- Pair the cards: Cards should be dragged to match correct pairs
Other question types have to be individually graded by the instructor. The instructor assigns points for correct answers and can leave a comment. These are more time-consuming to administer but may be useful to provide more personalized, in-depth feedback:
- Open answer: A written answer to a question or prompt
- Reply with attachment: An answer submitted by attaching an external file or link
From images to animated presentations, you might want to share content that you create outside of the WeSchool platform, and you can with our 300+ integrations. Let’s look at some of them, starting from the most common and used ones.
Google Suite is one of the most versatile and commonly used applications across academia and workplace organizations alike. Google Suite and the WeSchool platform work hand in hand to give you flexibility in how you create and run your courses.
For example, you might use Google Suite content that learners need to “View only,” and allow them to engage in discussion by using the “Comments” feature on the WeSchool platform, without altering your content. Or, you can use the “Anyone with the link can Edit” Google sharing option that would allow participants to collaborate in real-time directly in Google Suite, all while staying inside WeSchool for an uninterrupted learning experience.
To do this, create the file in your Google account, choose the desired sharing option, and paste the link into WeSchool. For more info, check out how to use Google tools on WeSchool.
- Google Docs, for text editing with an option to collaborate on demand;
- Google Sheets, to be able to collect, analyze, and visualize data (also collaboratively);
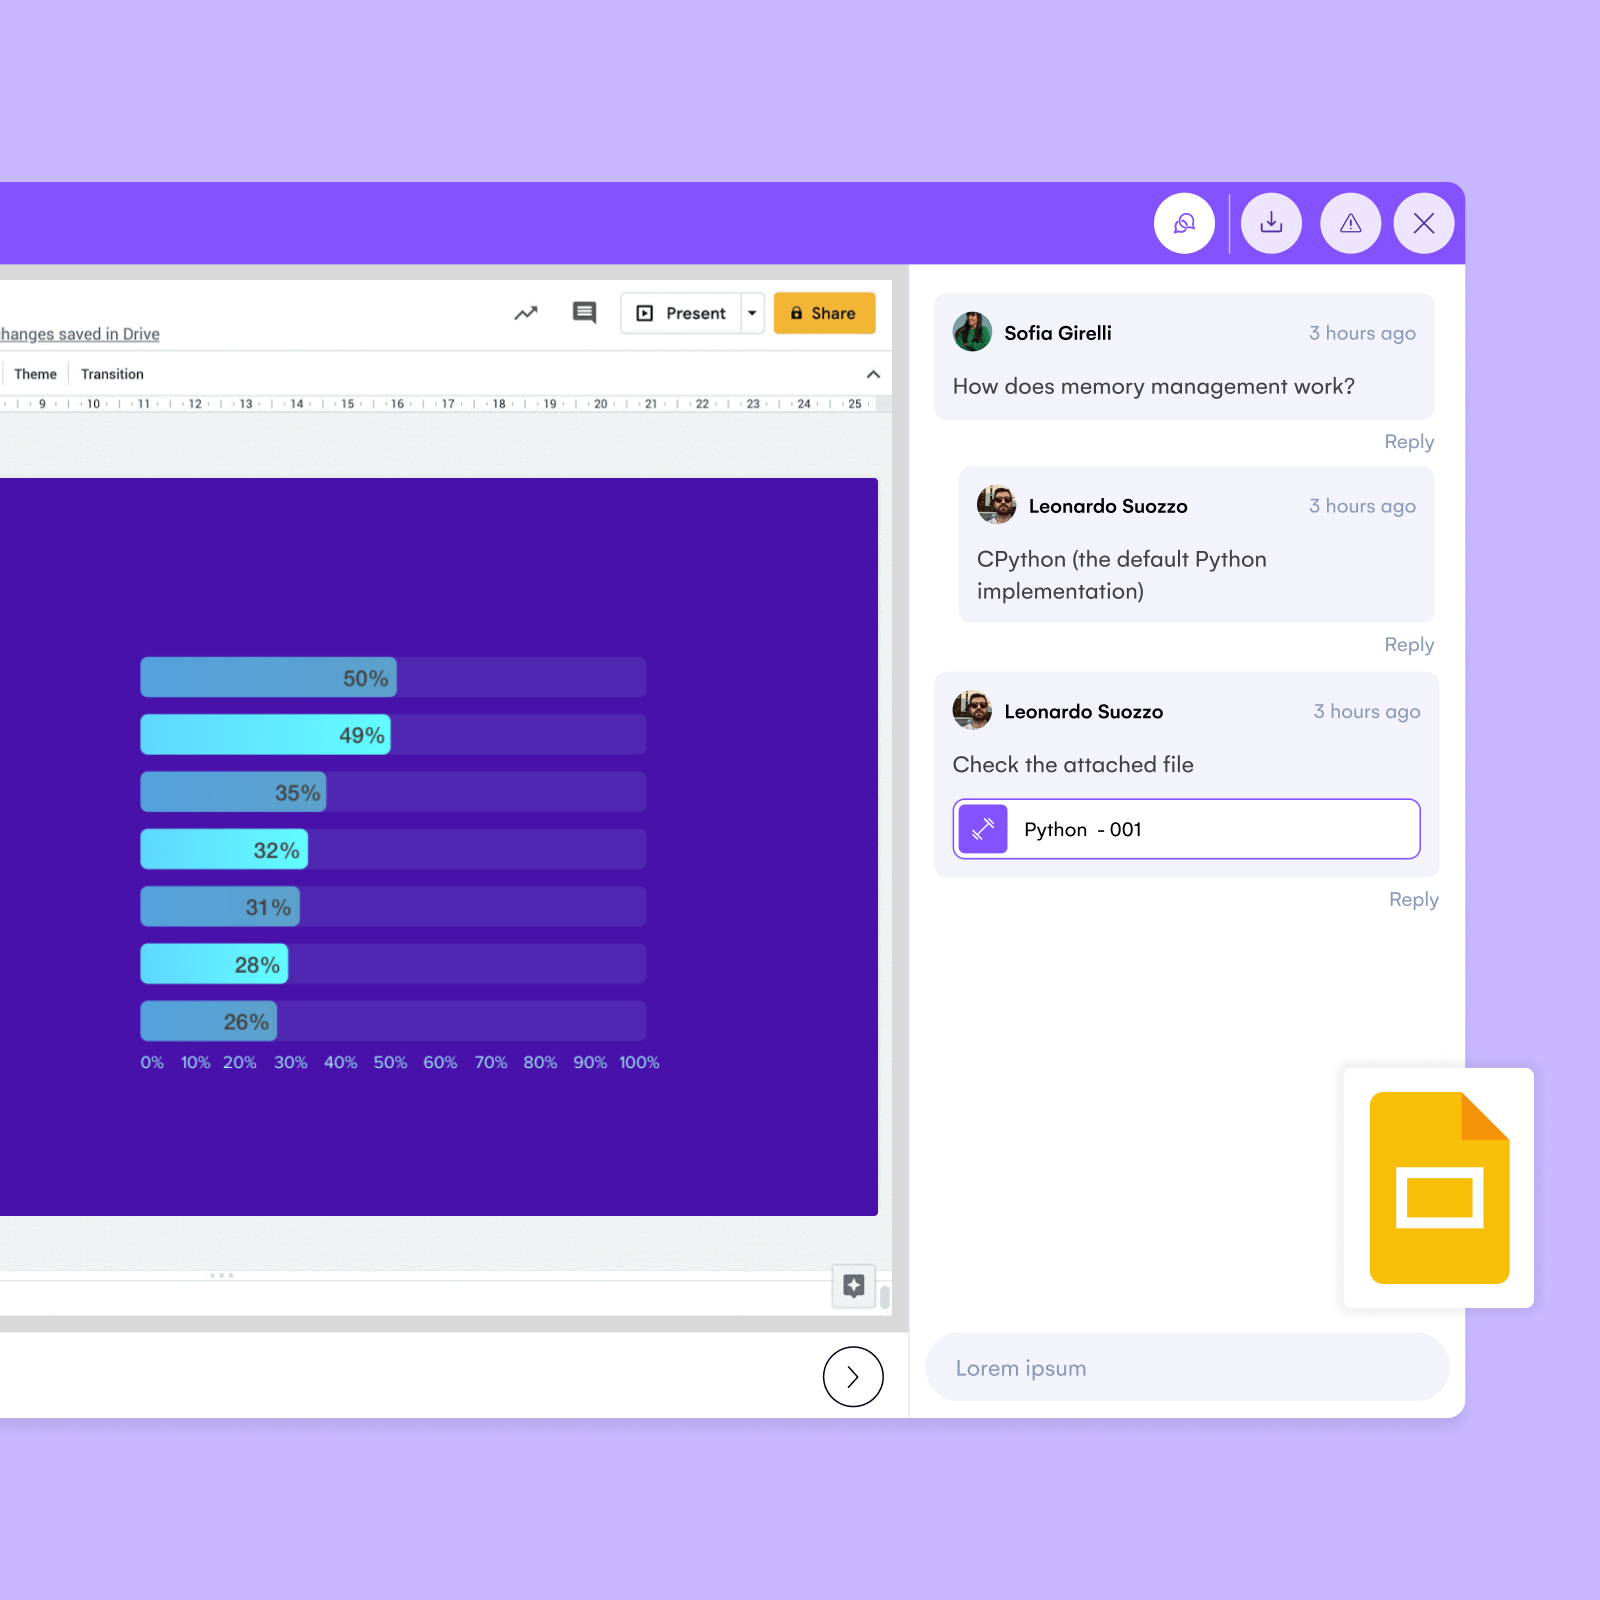
- Google Slides, presentations that can also be built together with others during the course;
- Google Forms, for taking a survey;
- Google Meet, for having Live meetings and events.
Genial.ly is a platform on which anyone from beginner to expert can create interactive, beautifully animated content, with lots of available templates and examples. These range from interactive quizzes and maps to full digital escape rooms. For learners, gamified activities like the ones created using Genial.ly can be engaging, motivating, and memorable parts of an online course.
To embed Genial.ly on the WeSchool platform, all you have to do is paste the link to your Genial.ly creation on WeSchool, and users will be able to interact with the content directly on the platform.
This allows users to experience the interactive activity as part of a consistent learning path, and for the instructors and administrators to track and manage learner progress, all in one place.
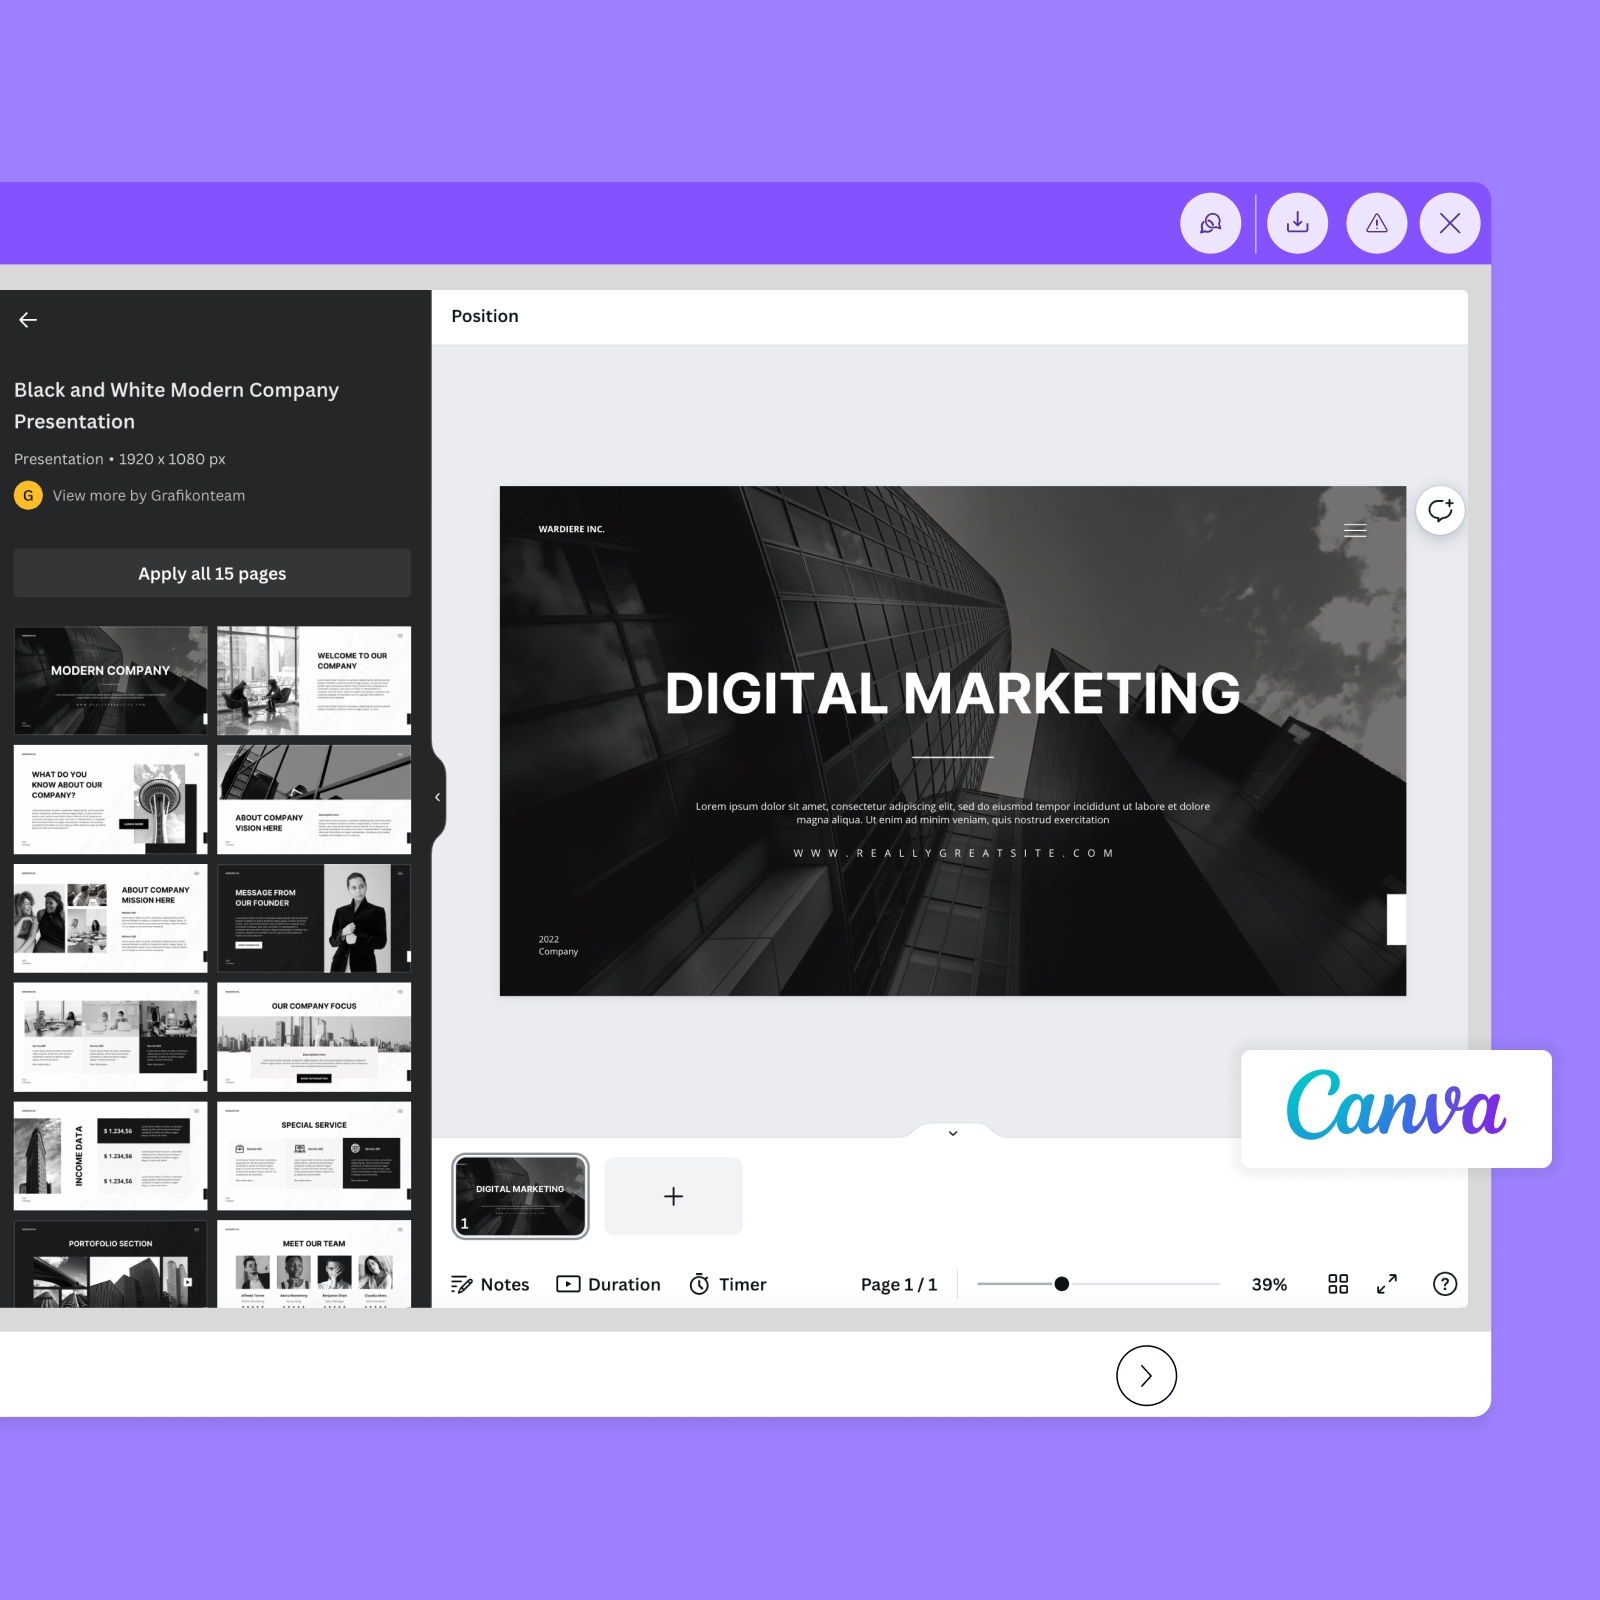
Canva is an intuitive, easy-to-use tool to create professional designs, even as a beginner. It comes with a large variety of templates for anything from infographics, charts, videos, and even social media templates. Any content you create with Canva can be added to the WeSchool platform by providing the link or uploading the content you saved on your device.
If you already have projects on Miro and want to import them, WeSchool has got you covered.
Miro has become one of the most popular collaborative tools. Much like Google Suite, it can be used both as a collaboration and a presentation tool, meaning users can collaborate directly on WeSchool or browse the content you have created, all by simply adding the page link to your WeSchool group.
PS: if you want to leverage a collaborative board, remember you can always use the WeSchool embedded Board in the first place!
Microsoft Office offers a reliable, long-standing package of software applications that can be used to create and edit content.
Content you create with Microsoft tools can easily be uploaded directly into your WeSchool course. While users would not be able to collaborate on these files with you the same way they would if you were to add a Google Suite link, Microsoft products do have rich export options. For example, you can convert a PowerPoint presentation into a video or PDF in a few simple steps to make your content more variable and flexible to suit diverse learner needs and preferences.
- Microsoft Word, for word processing with built-in spell checking
- Microsoft Excel, for spreadsheets, data visualization, and analysis
- Microsoft PowerPoint, for lecture slides, presentations, and screen recordings
In 2024, social learning, interactivity, and interactions are a must-have for any engaging course. Indeed, interactive PDFs are also supported directly by the WeSchool platform and allow flexibility and interactivity when it comes to user interaction.
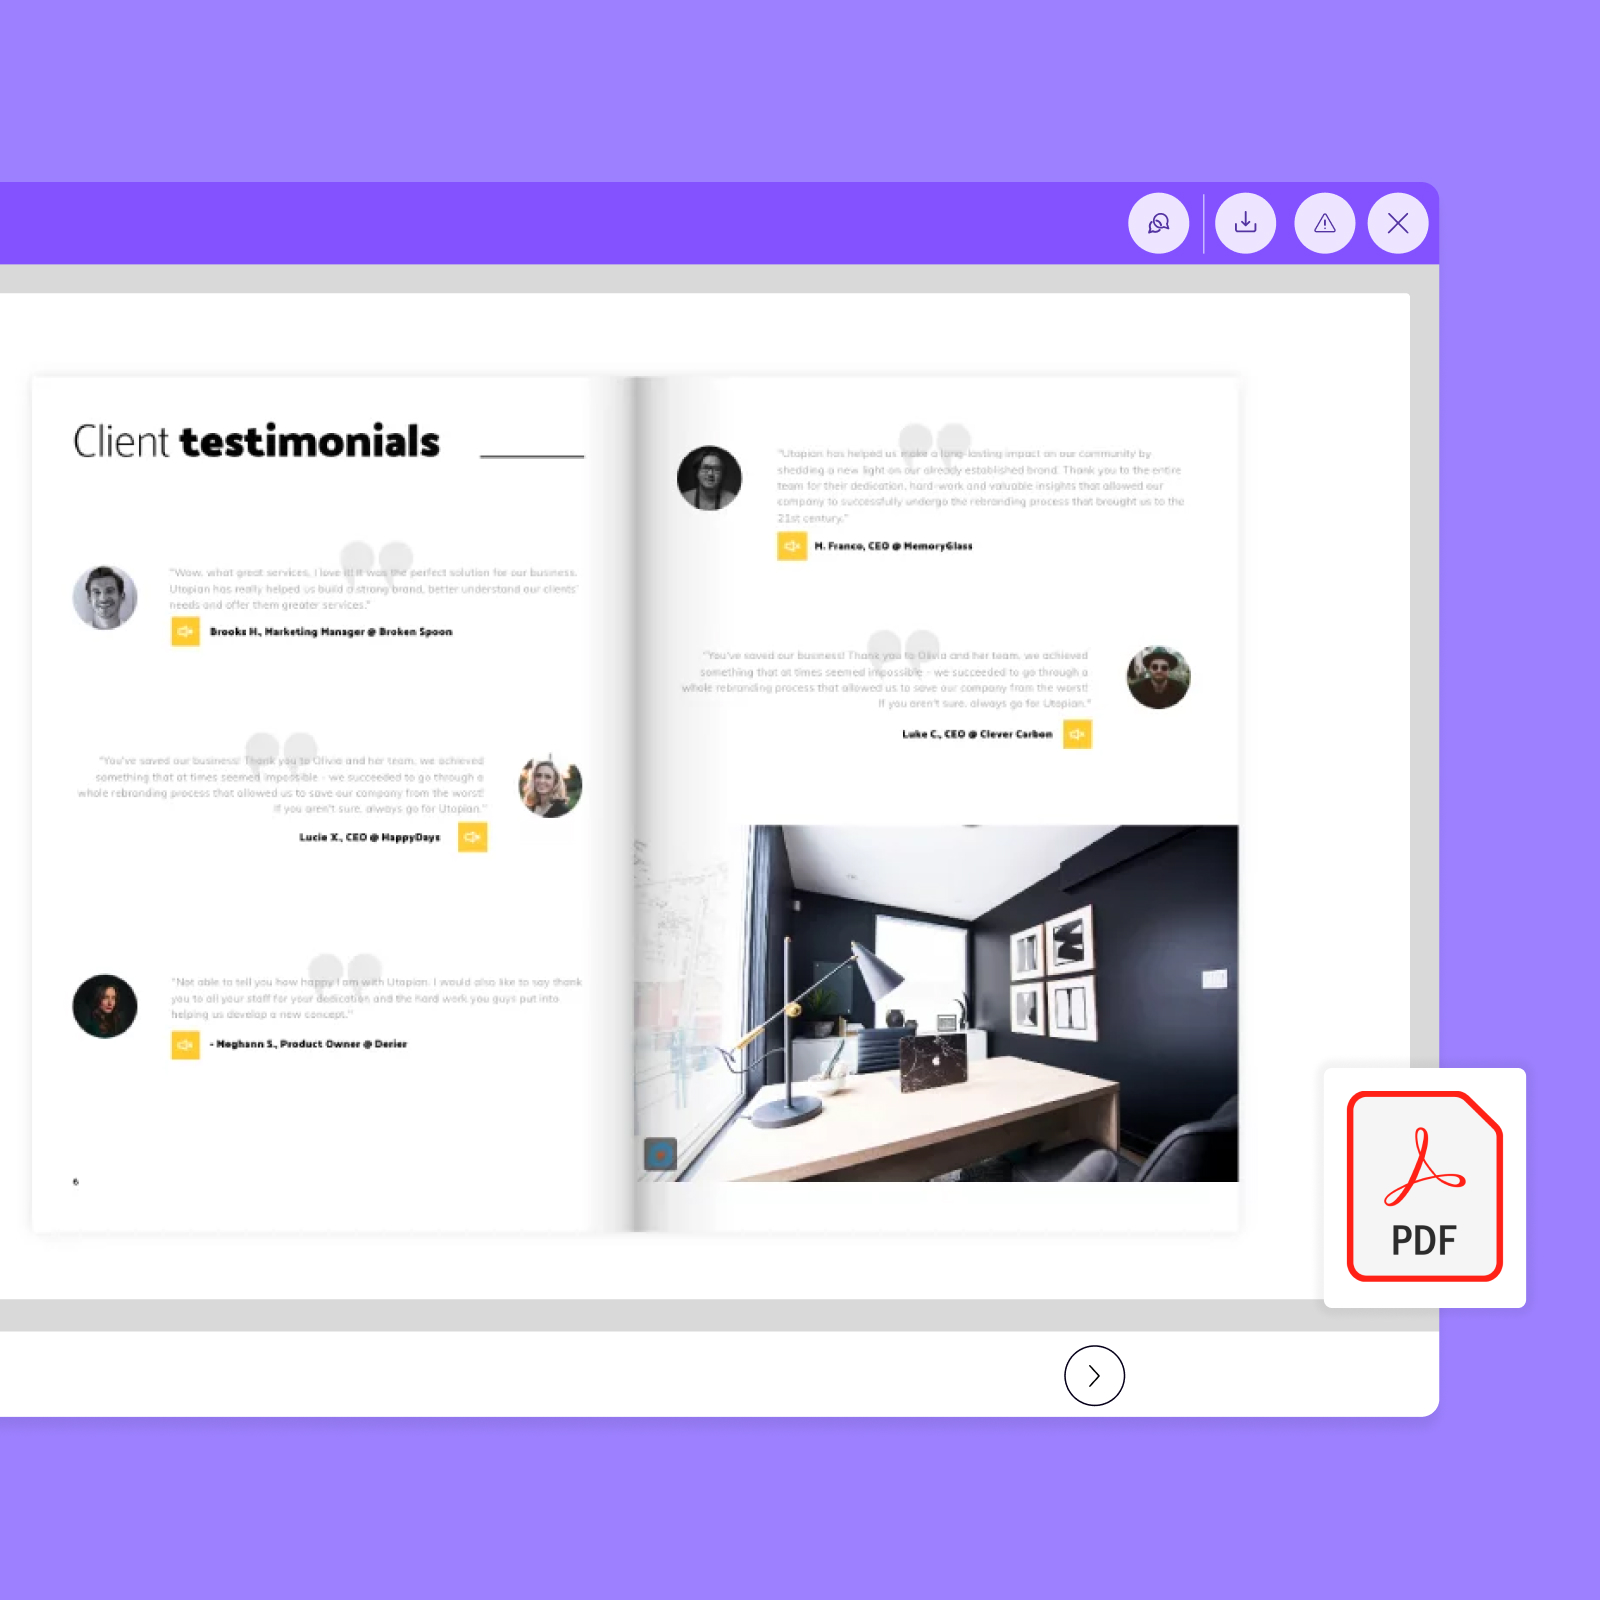
You can create Interactive PDFs using Adobe Acrobat or Open Office, for example. Then, users can fill out the interactive fields you create and save their answers on their devices by downloading the file. However, the document remains intact on the platform and allows everyone to fill in their own answers at any time, and as many times as they like.
Whether it’s to measure the quality of your onboarding program or assess leadership skills, you might need to add a form or survey at some point in your learning path.
Forms, polls, and surveys are great for getting learners to engage with your content and express their opinions and understandings. You can easily embed one in the WeSchool platform. To do this, just paste the link to your Typeform, for example, and users have immediate access without ever having to leave their WeSchool learning path.
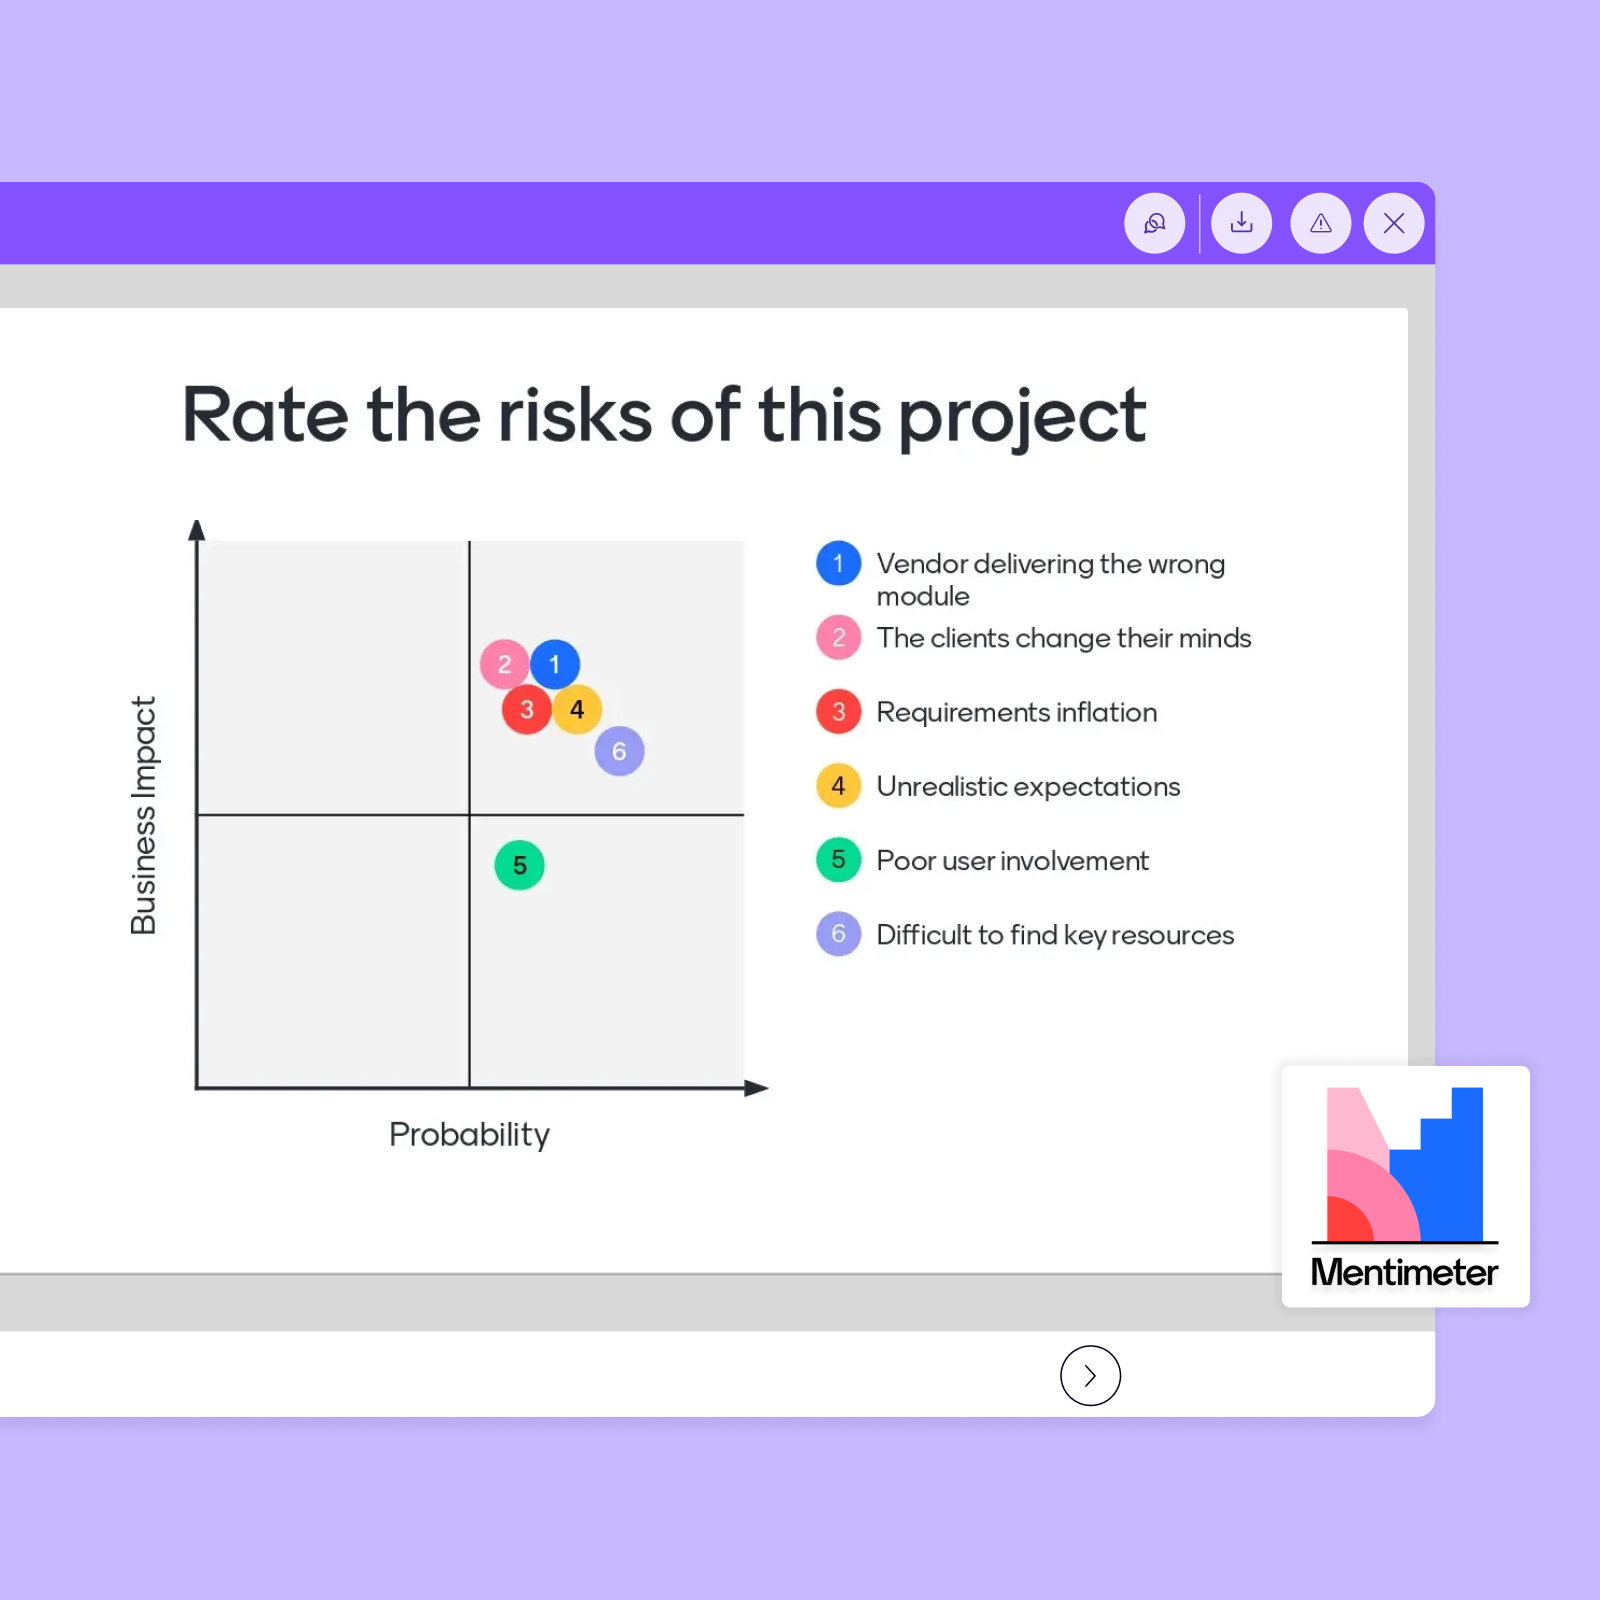
Last but not least, you may also want to engage your learners with interactive activities like Mentimeter and Kahoot. Adults just as much as children can enjoy and benefit from adding some elements of games and challenges to make their learning memorable and fun, and indeed, gamification continues to be a growing trend in workplace training. Integrations that allow you to gamify your course are all supported by the WeSchool platform.
You can embed your link into the WeSchool learning path, to be completed by learners on demand. Or, use it during a Live meeting, conducted with your preferred video conferencing tool such as Google Meet, Microsoft Teams, Zooms, Webex, and integrated right into the WeSchool platform.
Short-form mobile videos are one of the most sought-after ways the new generation entering the workforce gets information and learns new skills.
Think: Tik Tok and Instagram Stories. Leveraging this format (mobile videos) and learning style (microlearning through short and snackable bits of information) is the perfect way to make people naturally want to engage with the course content.
To this end, you can easily upload or link videos on the WeSchool platform. Here are some of the most commonly used options.
You can upload a video you have created of up to 100 MB in file size directly onto the WeSchool platform by dragging and dropping it, or selecting the file from your device. Supported formats include MP4 and MOV. This is a convenient option for shorter videos. It’s a safe bet to ensure the video will always be available to your users, as links to online videos can sometimes change or break. However, linking videos also comes in handy for particular purposes: read on to find out about these options next.
Vimeo is perfect for creating videos that are of bigger file sizes, more than 100 MB. With Vimeo, you have the option to upload your video using a “private” link, making it accessible only to the people taking your course via the link, as with YouTube. Vimeo has an additional privacy feature that lets you to host a video on Vimeo, yet allow it to be viewed only on digital platforms you select. By using this feature, you could host your video on Vimeo, but allow it to be seen only on the WeSchool platform, for an additional level of video privacy.
To do this:
Upload the video on WeSchool > in the “Privacy” setting, select “Hide from Vimeo” > in the “Embed” section, select “Specific domain“ and write “weschool.com”.
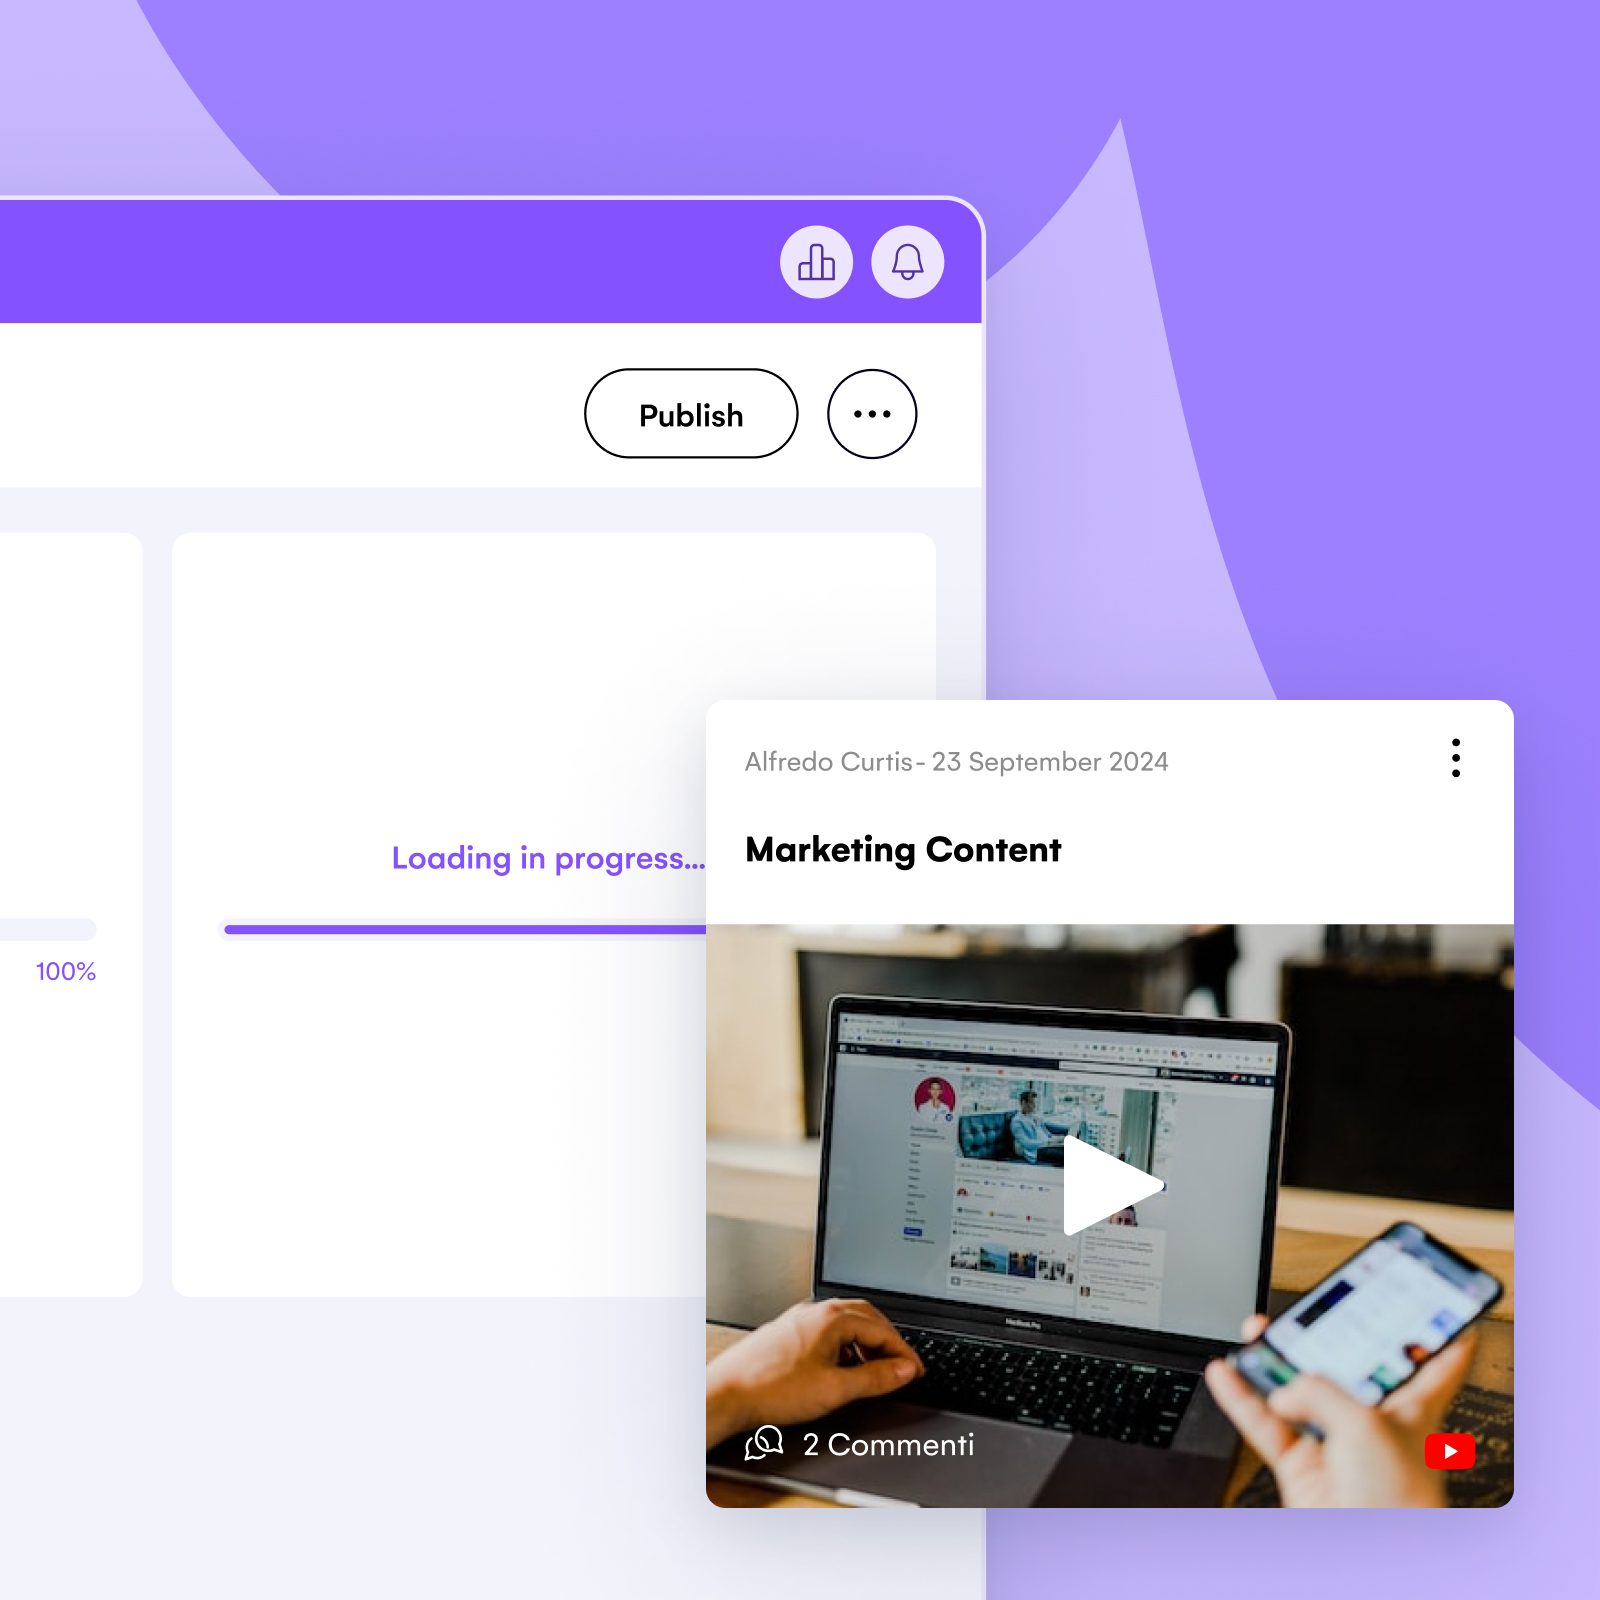
You can also safely and easily share video content created by you or others, while protecting their copyright, by adding the video link to the WeSchool platform. For example, YouTube is a great source to find a large variety of videos, and it’s a good idea to look for credible, high quality resources when searching for learning content – think TED talks, company resource guides, and other verifiable sources. Just choose “YouTube” from the content picker option, paste the link to the video you want, and select it to add it to your WeSchool learning path.
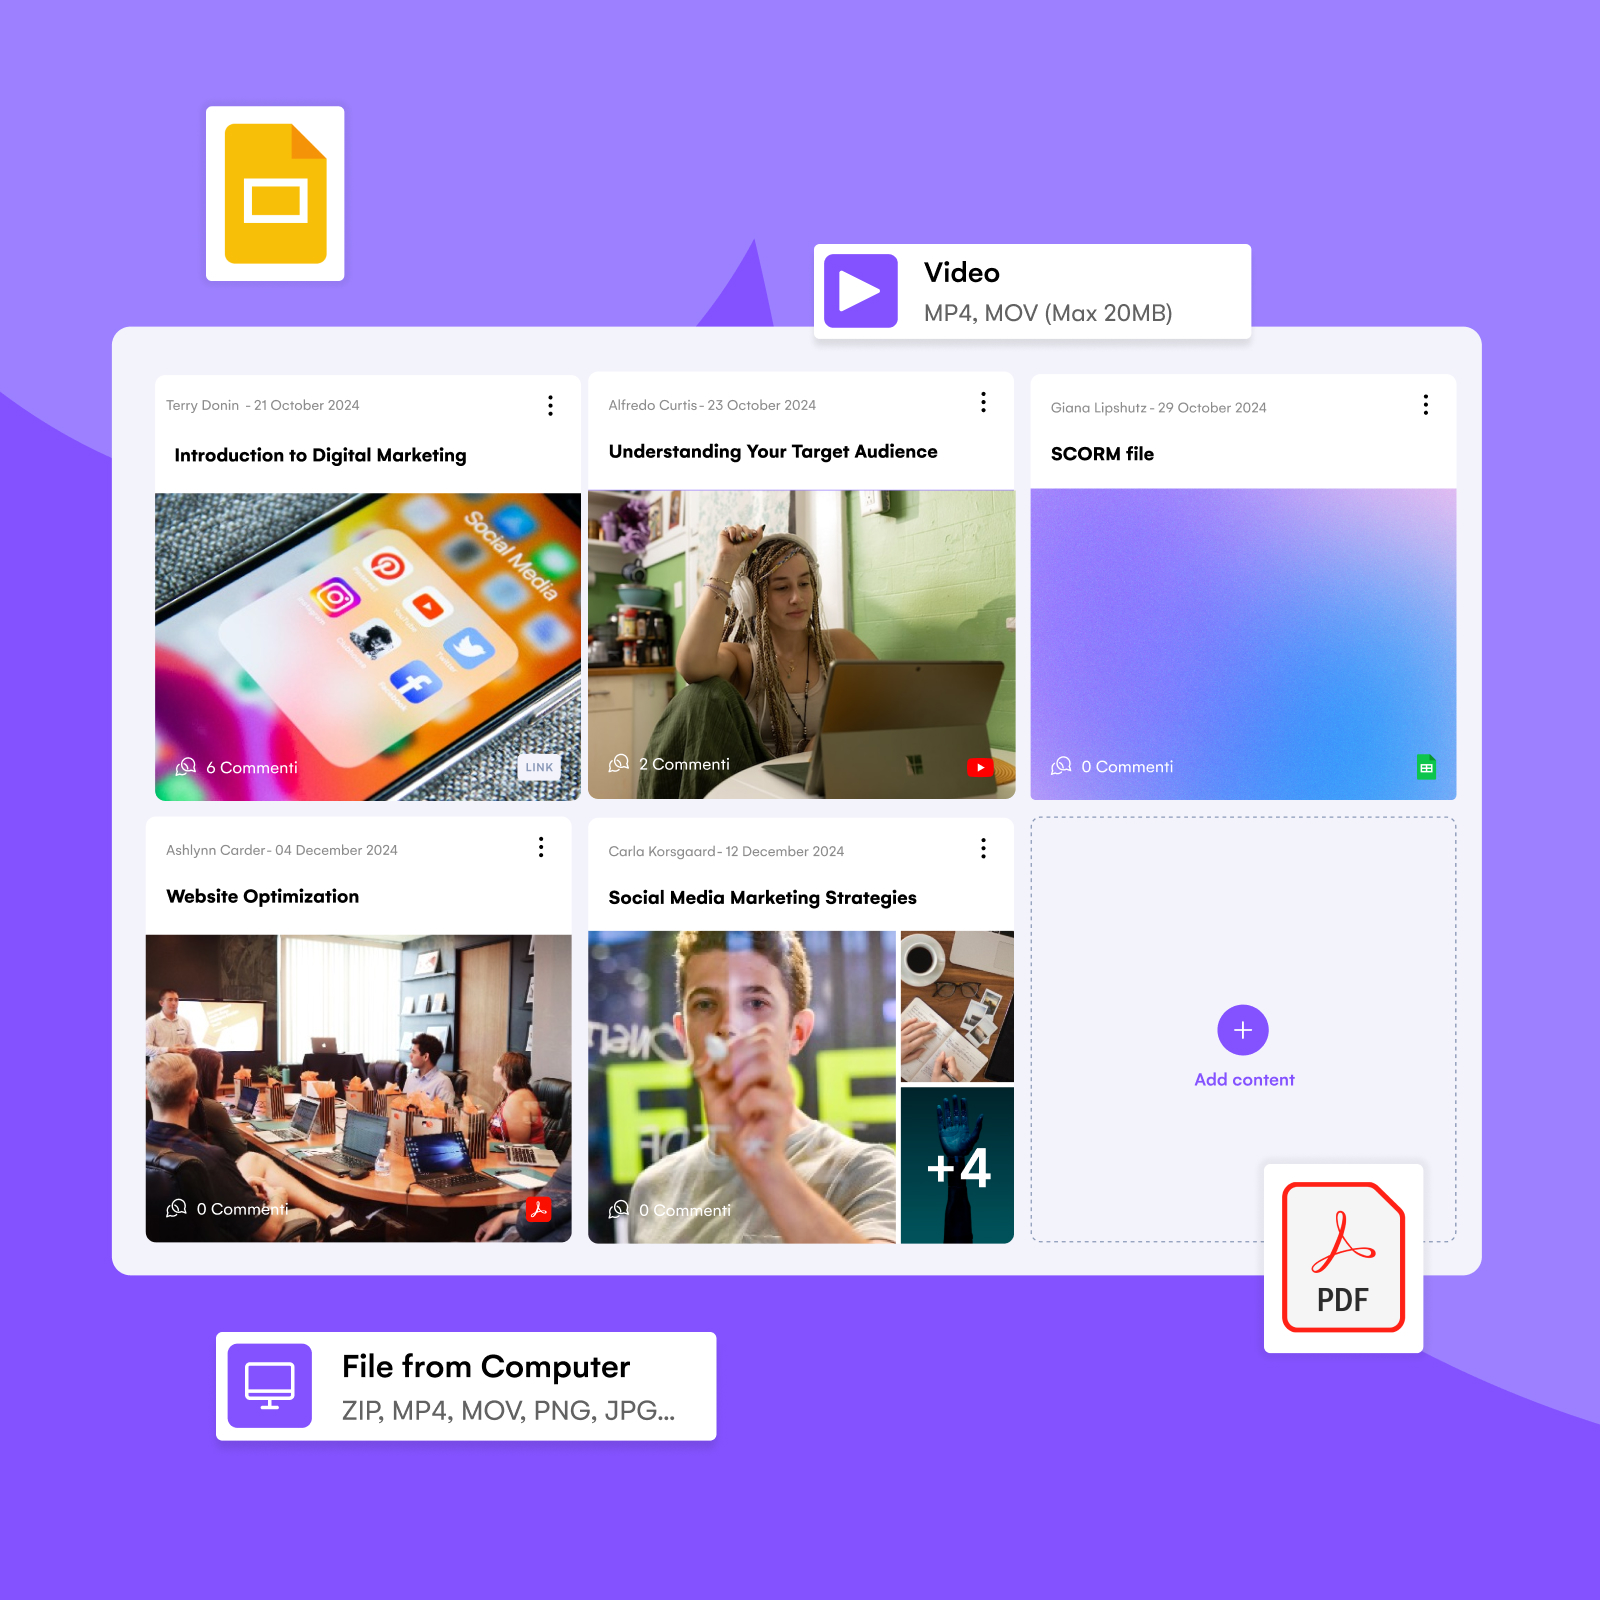
Varying content formats, from podcasts to infographics, is a must to make any course content interesting and inclusive of different learning preferences. The WeSchool platform gives you the possibility to embed tons of different files and formats directly from your device. Let’s see what they are and how to add them on WeSchool.
Every topic needs to be tackled with the right format – the best one to convey your knowledge and ideas. On WeSchool you have room to express your creative freedom, while maintaining a clean and consistent experience for the users. Simply use the content picker to upload the file of your choice, including:
- Images, from GIFs to JPEGs and PNGs
- PDFs, for your documents and tutorials
- Zip file, perfect for training kits to be downloaded
- Dropbox and Google Drive, for large files
- SCORM files (see below)
The only limitation? 100 MB in file size.
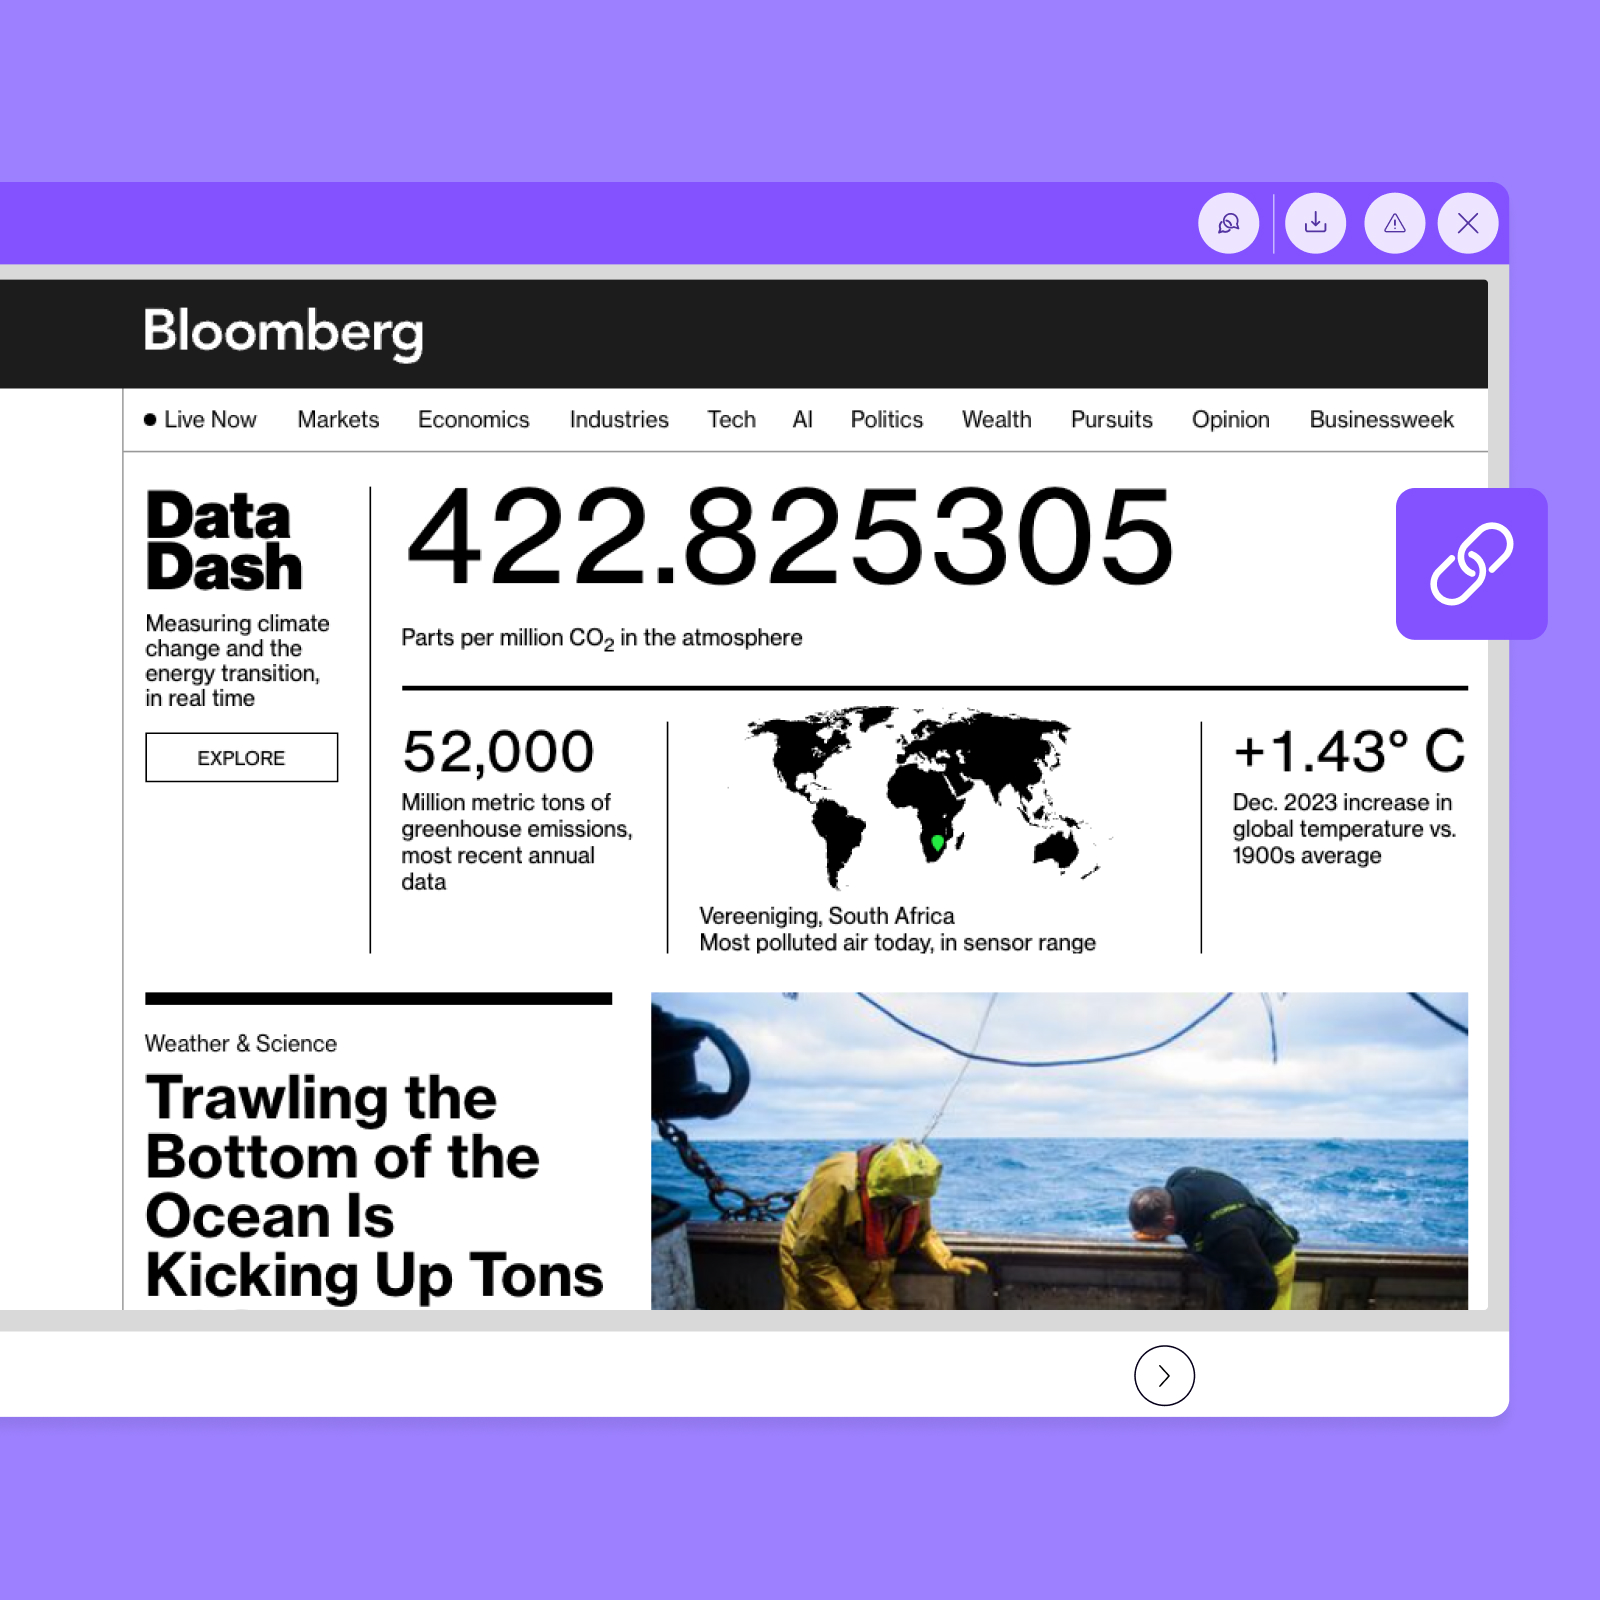
There are so many digital tools that it’s impossible to mention them all. For the most part, any content that can be shared as a link, can be embedded on the WeSchool platform.
One caveat to watch out for is that specific digital tools might restrict their content from being embedded, (for example, Padlet), so be sure to check the permissions of the tool that you plan to use. In case embedding is not possible: you can always create an announcement on the Wall to let users know that they will need to use this external tool, and pin your post to the top so they have easy, continuous access to it.
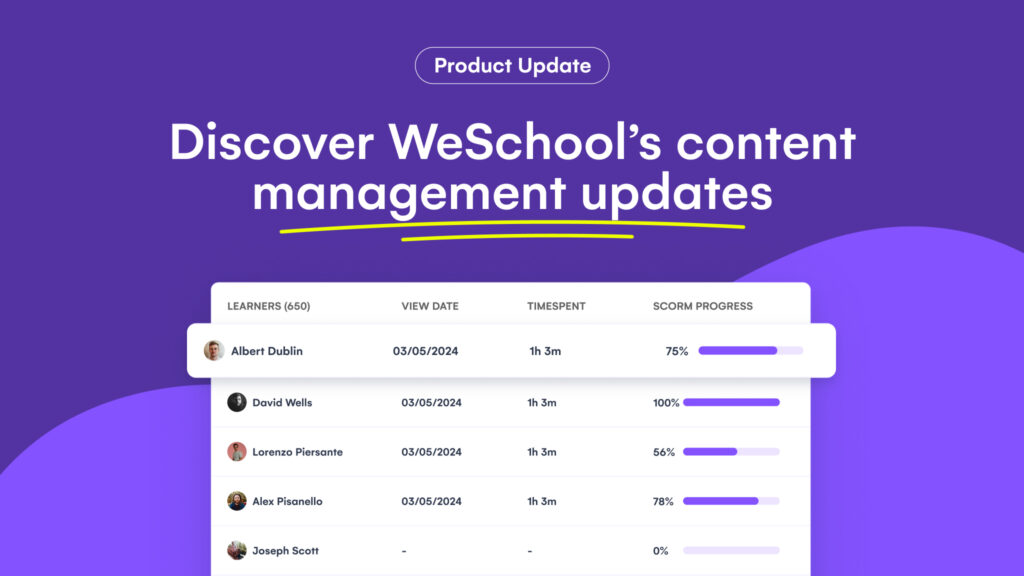
If you are a more advanced learning content creator, you might also be using content authoring tools like Articulate and Camtasia. The interactive content you create with those can be saved as a SCORM file and uploaded to the WeSchool platform simply by choosing the “SCORM” upload option.
For more information, see: How to add a Scorm file to a Module
More about SCORM
Sharable Content Object Reference Model (SCORM) is a set of technical standards for online learning software products. These standards exist so digital content can be easily created, shared, and used without any compatibility issues across various authoring tools and LMS’s.
An LMS that is SCORM compliant is one that adheres to all the specifications and guidelines set by SCORM, including:
- Content Packaging, or organization of content in a way that allows it to be easily imported and run on other SCORM-compliant systems
- Run-Time Environment, or the communication between the authoring tool and the LMS which allows the LMS to track and record learner progress, assessment scores, and other relevant data
- Sequencing and Navigation, or set of rules that provide a predictable content path and set of navigation options for learners
- Data Interoperability, or ensuring that data can be easily transferred between different SCORM-compliant systems, so that learners can access a course from different platforms and devices without losing their progress.
All in all, the goal of SCORM is to create a common set of standards that allow for smooth compatibility between online learning software systems to make content easy to use and re-use. If you want to take a look at how WeSchool meets this and other technical requirements, check out our Technical FAQs page.
And now, here’s where the magic happens. The Modules are the spaces where most of your learning content will be stored on the WeSchool platform: whether it’s an upload or a link, created by you or others, is a presentation or an interactive activity. Each piece of content gets added as a Card within a Module, giving you an easy way to move and change content, and for your learners – a clean, consistent, easy to access and follow, learning path. And, you have options here too: whether you want the learning path to be structured and followed in a specific order, or you want people to have flexibility in which content they access, and when.
On the WeSchool platform, you also have the option to use an AI assistant to create a course outline using AI. Using this option will produce the structure for any course you want to create, including module titles and a description of learning activities and assessments that can be used in each one. From there, it’s up to you to use the tools of your choice to create the full learning activities.
Last but not least, your course creation can also be made more efficient by using the “Import Module” option: once you’ve created some learning content, you can duplicate and adjust it as needed for new courses and new learners.
All in all, WeSchool makes it easy to create content and administer it for your learners, all in one place. You can create content from scratch, including use of AI tools such as Draft with AI and Create a course outline using AI. You can also upload content you create, or link content created by others, using any of the 50+ integrations available using the content picker within the Modules.
The result? Your learners get varied and easily accessible learning content, activities, and assessments, all within a smooth, intuitive, and simple to use learning environment.
To get started, request a Demo and see how to create a course on WeSchool in action.

Reviews